


D
Derek Hickman Works well, wish it had wider options, but does what I need.
E
Errol Good and stable product. Looks great
L
Lydia Bazzano Exactly as described and holds weight and does NOT sag
J
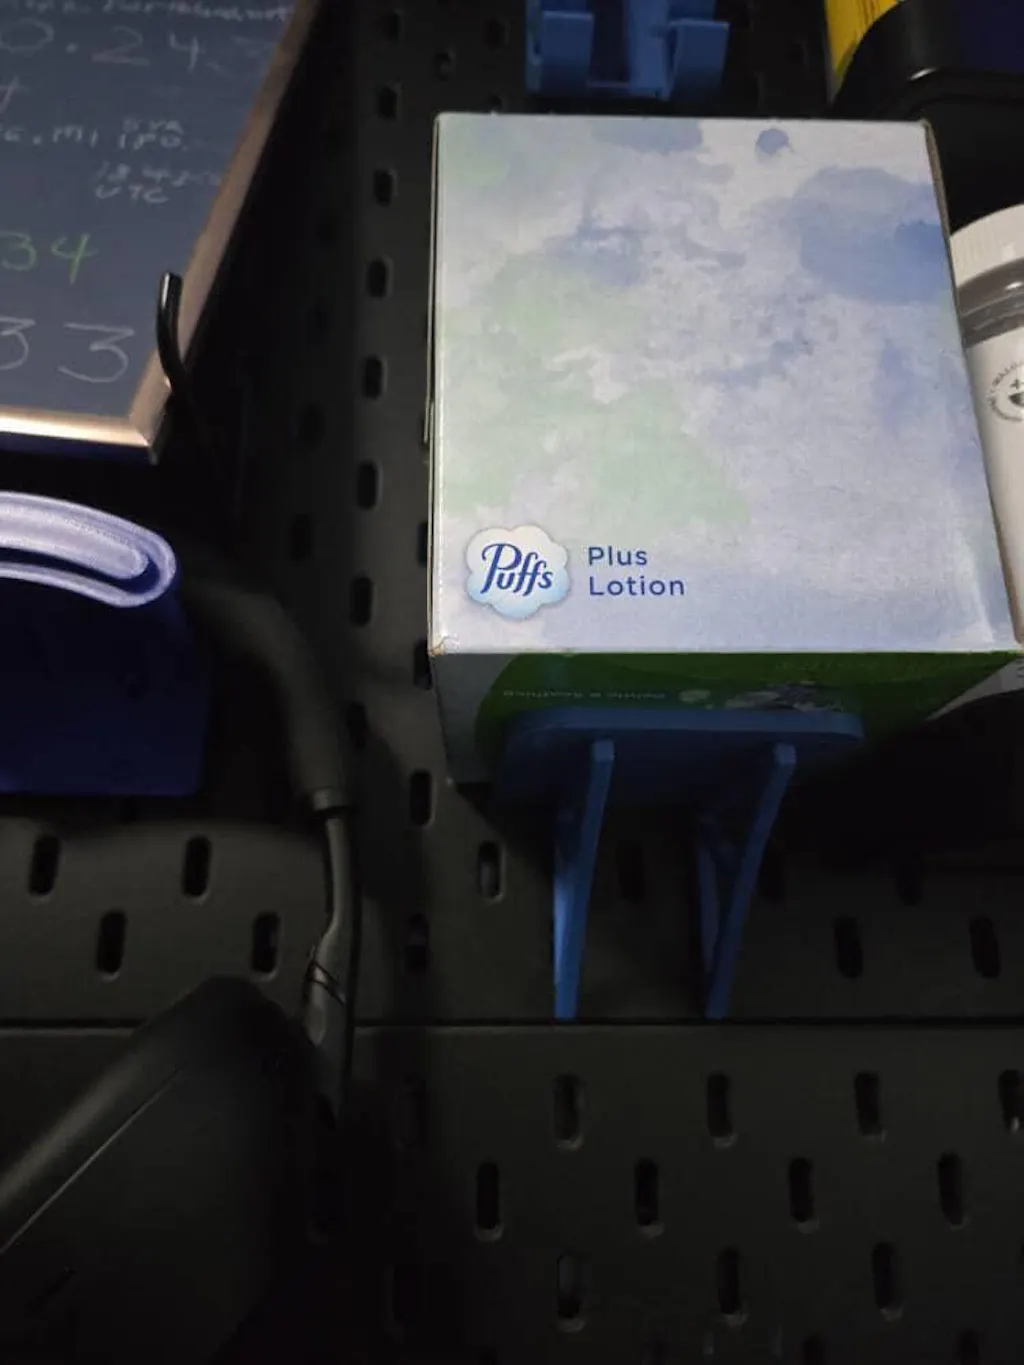
Joseph Hong Took some time to arrive due to USPS shenanigans, but no fault of seller. Very sturdy and well built, easy to install to Skadis pegboard. Will use this to display LEGO dioramas, and seems very well suited to the task.
M
Mary Ann Smith Perfect for my needs. Great Customer Service.