Just Hanging
Thermal Label Printer Shelf | Optional Label Fan-Fold or Roll Holder | 1/4" Compatible
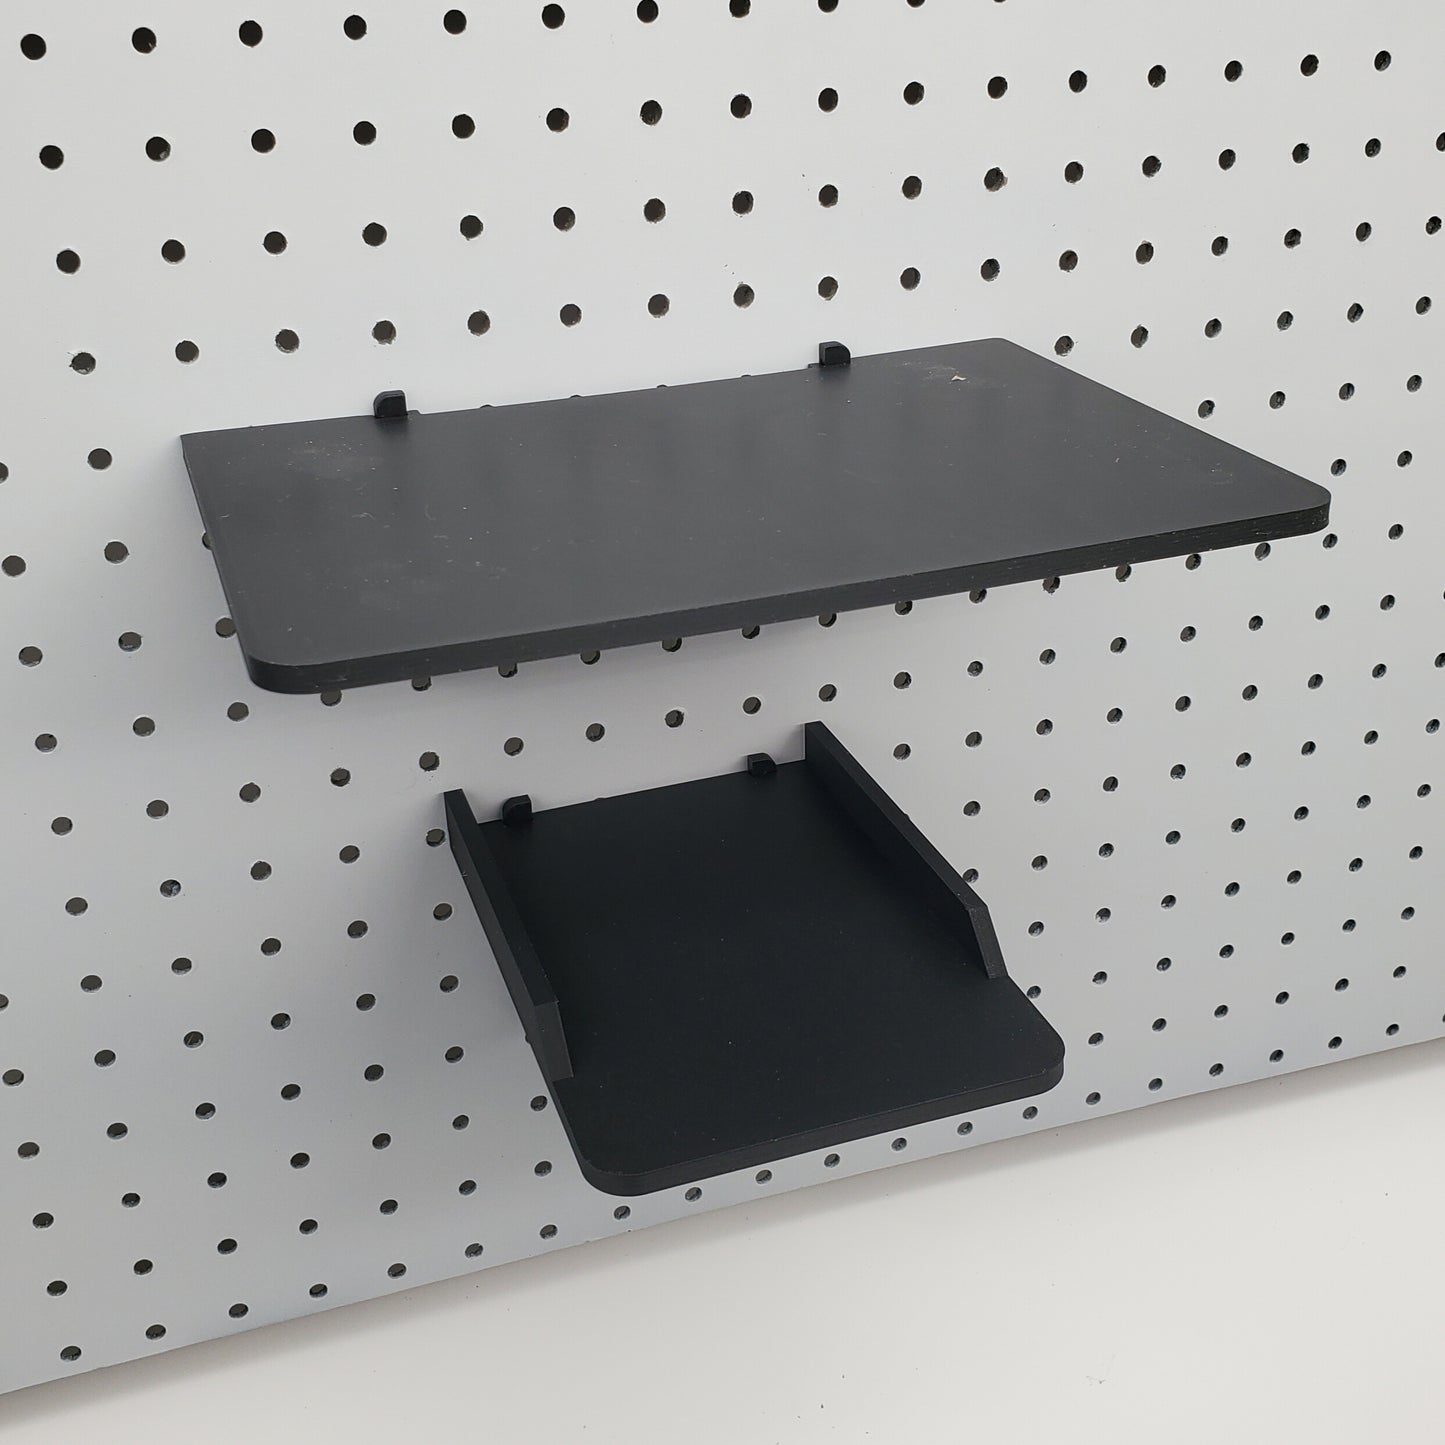
Thermal Label Printer Shelf | Optional Label Fan-Fold or Roll Holder | 1/4" Compatible
Couldn't load pickup availability
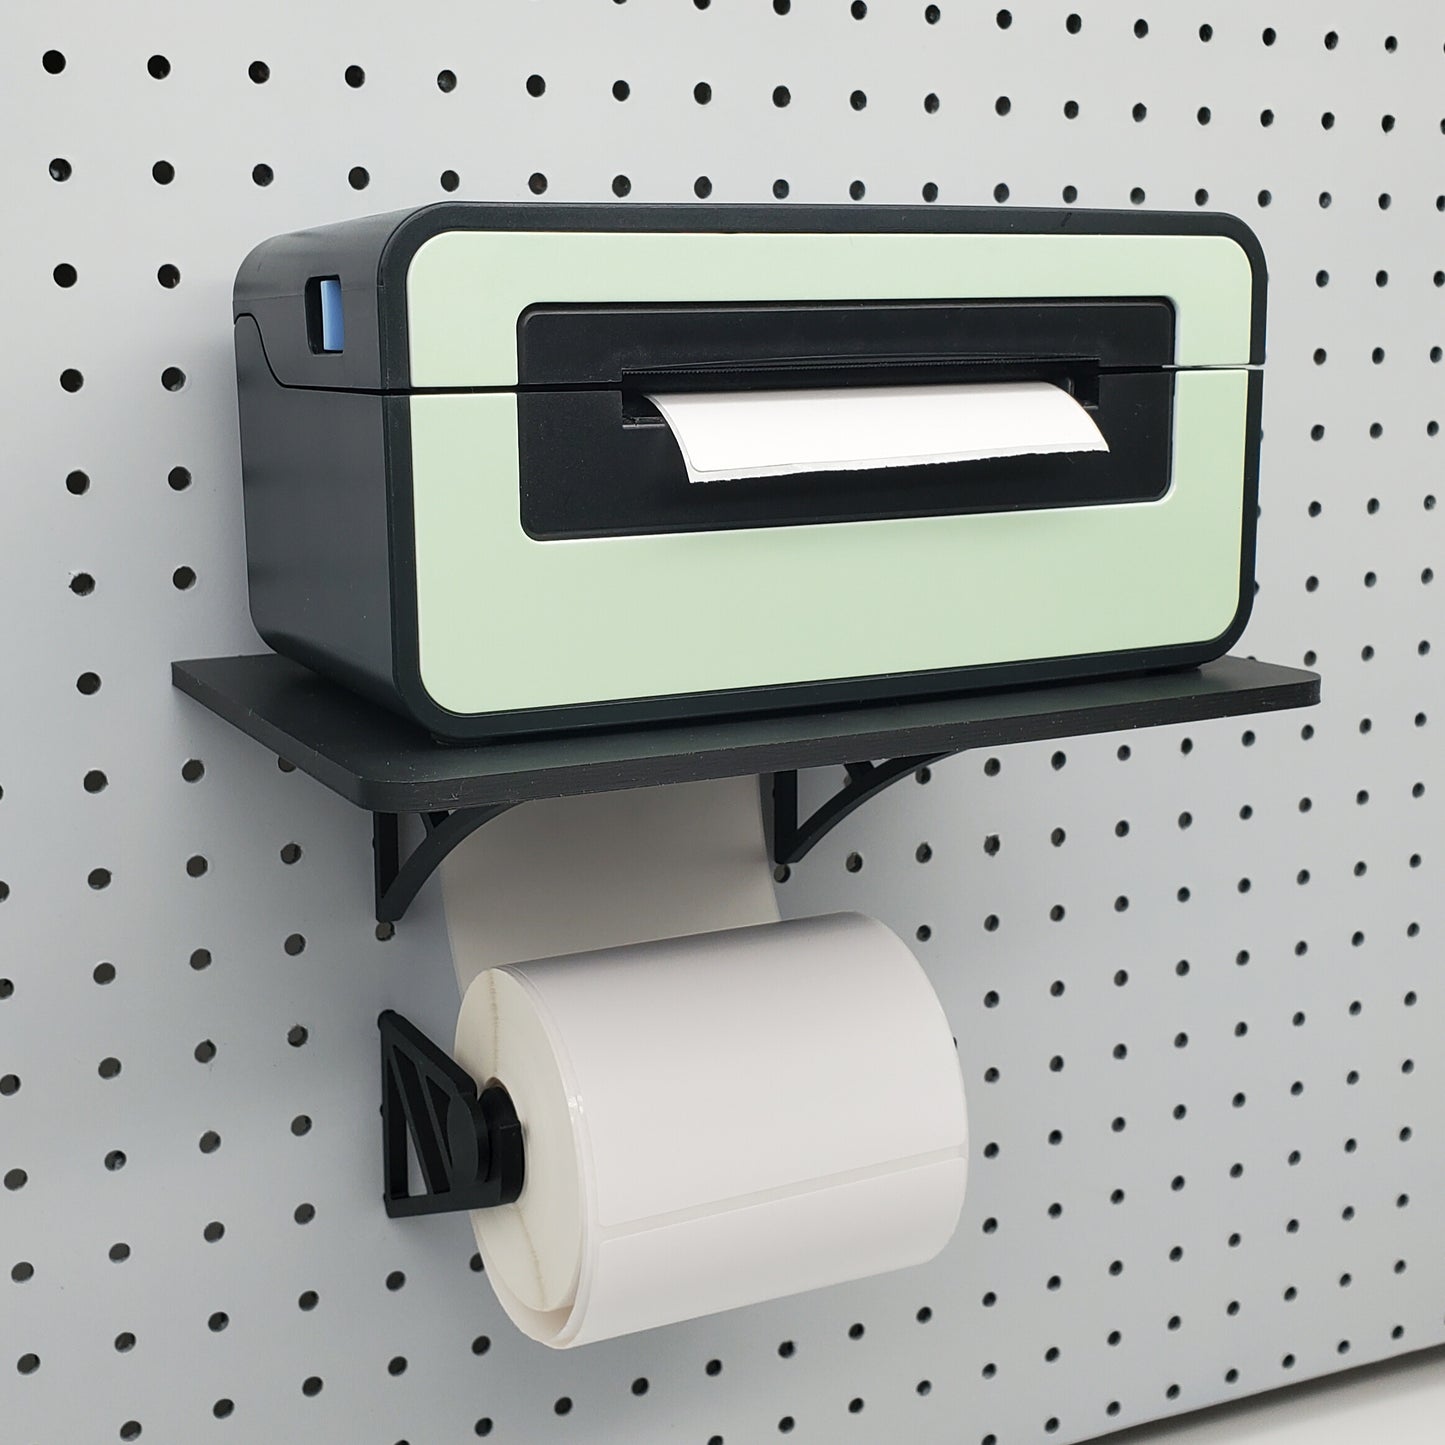
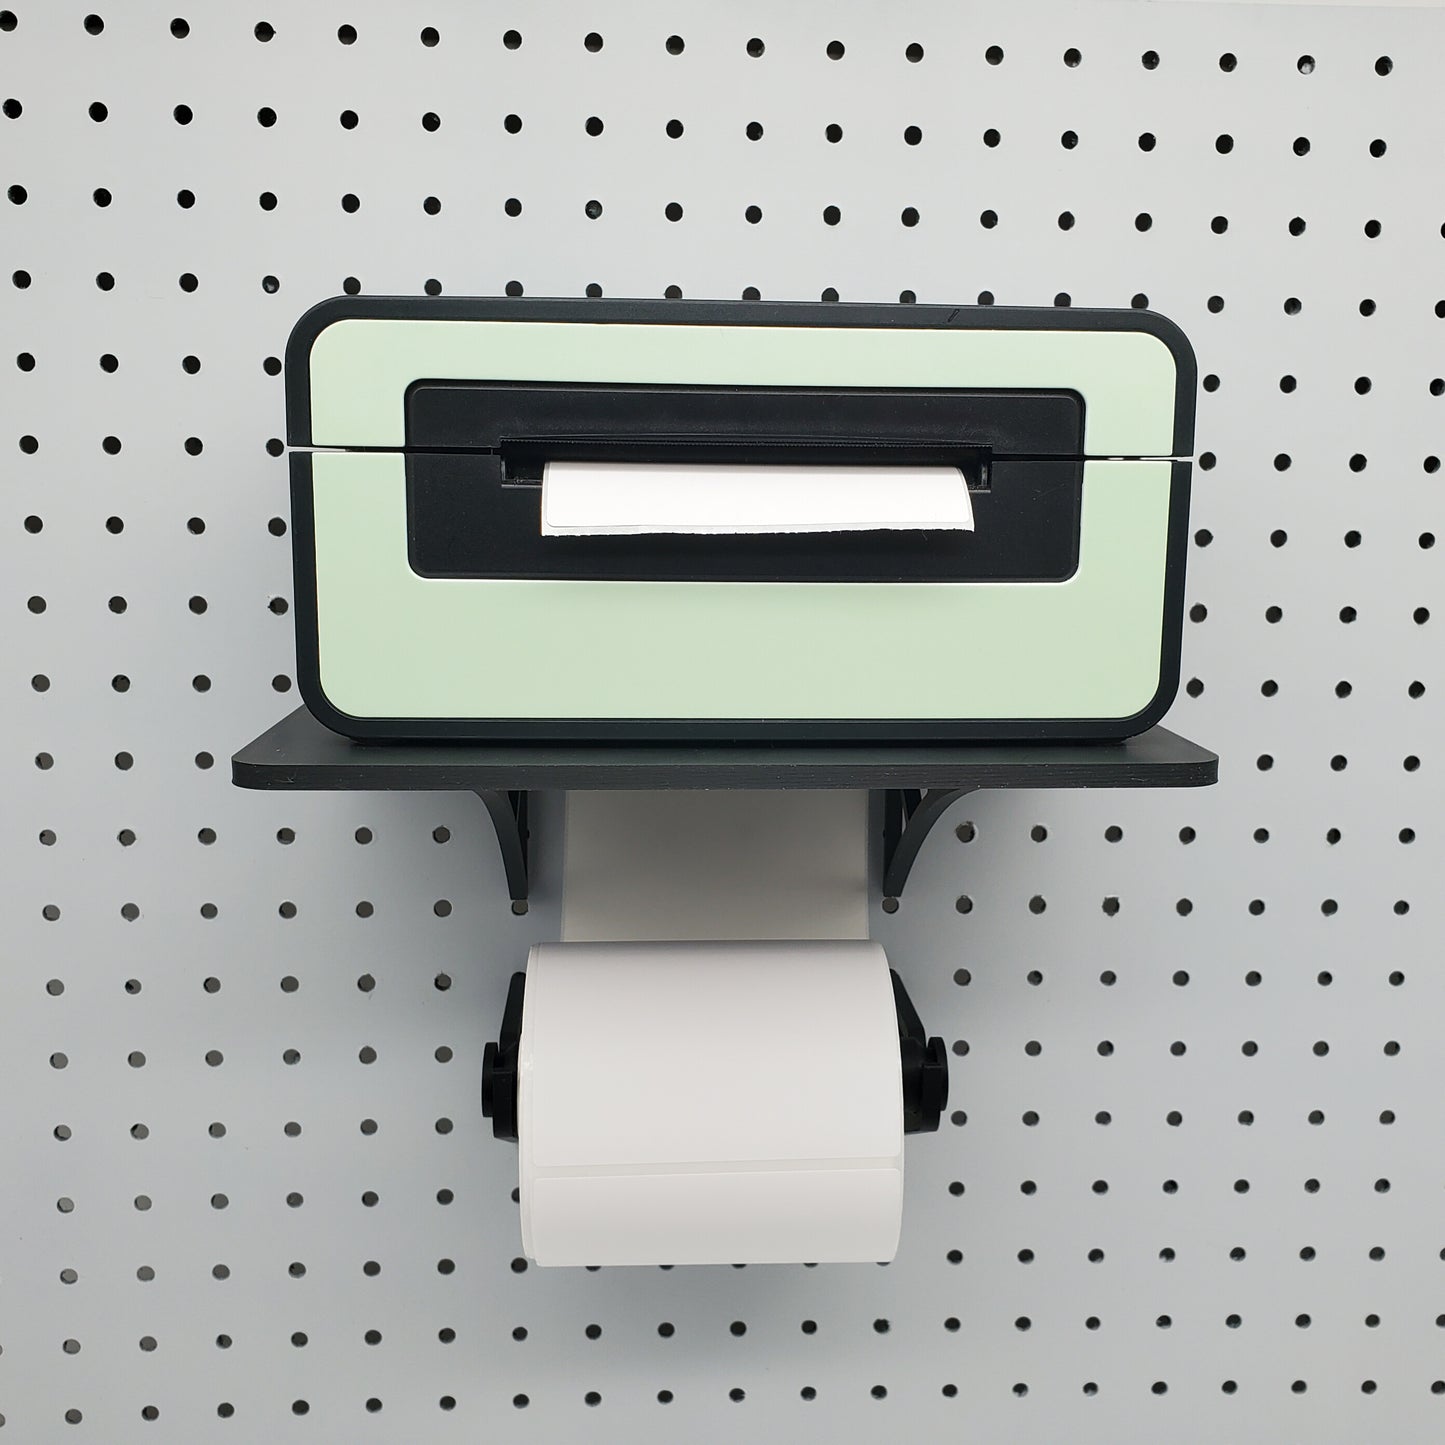
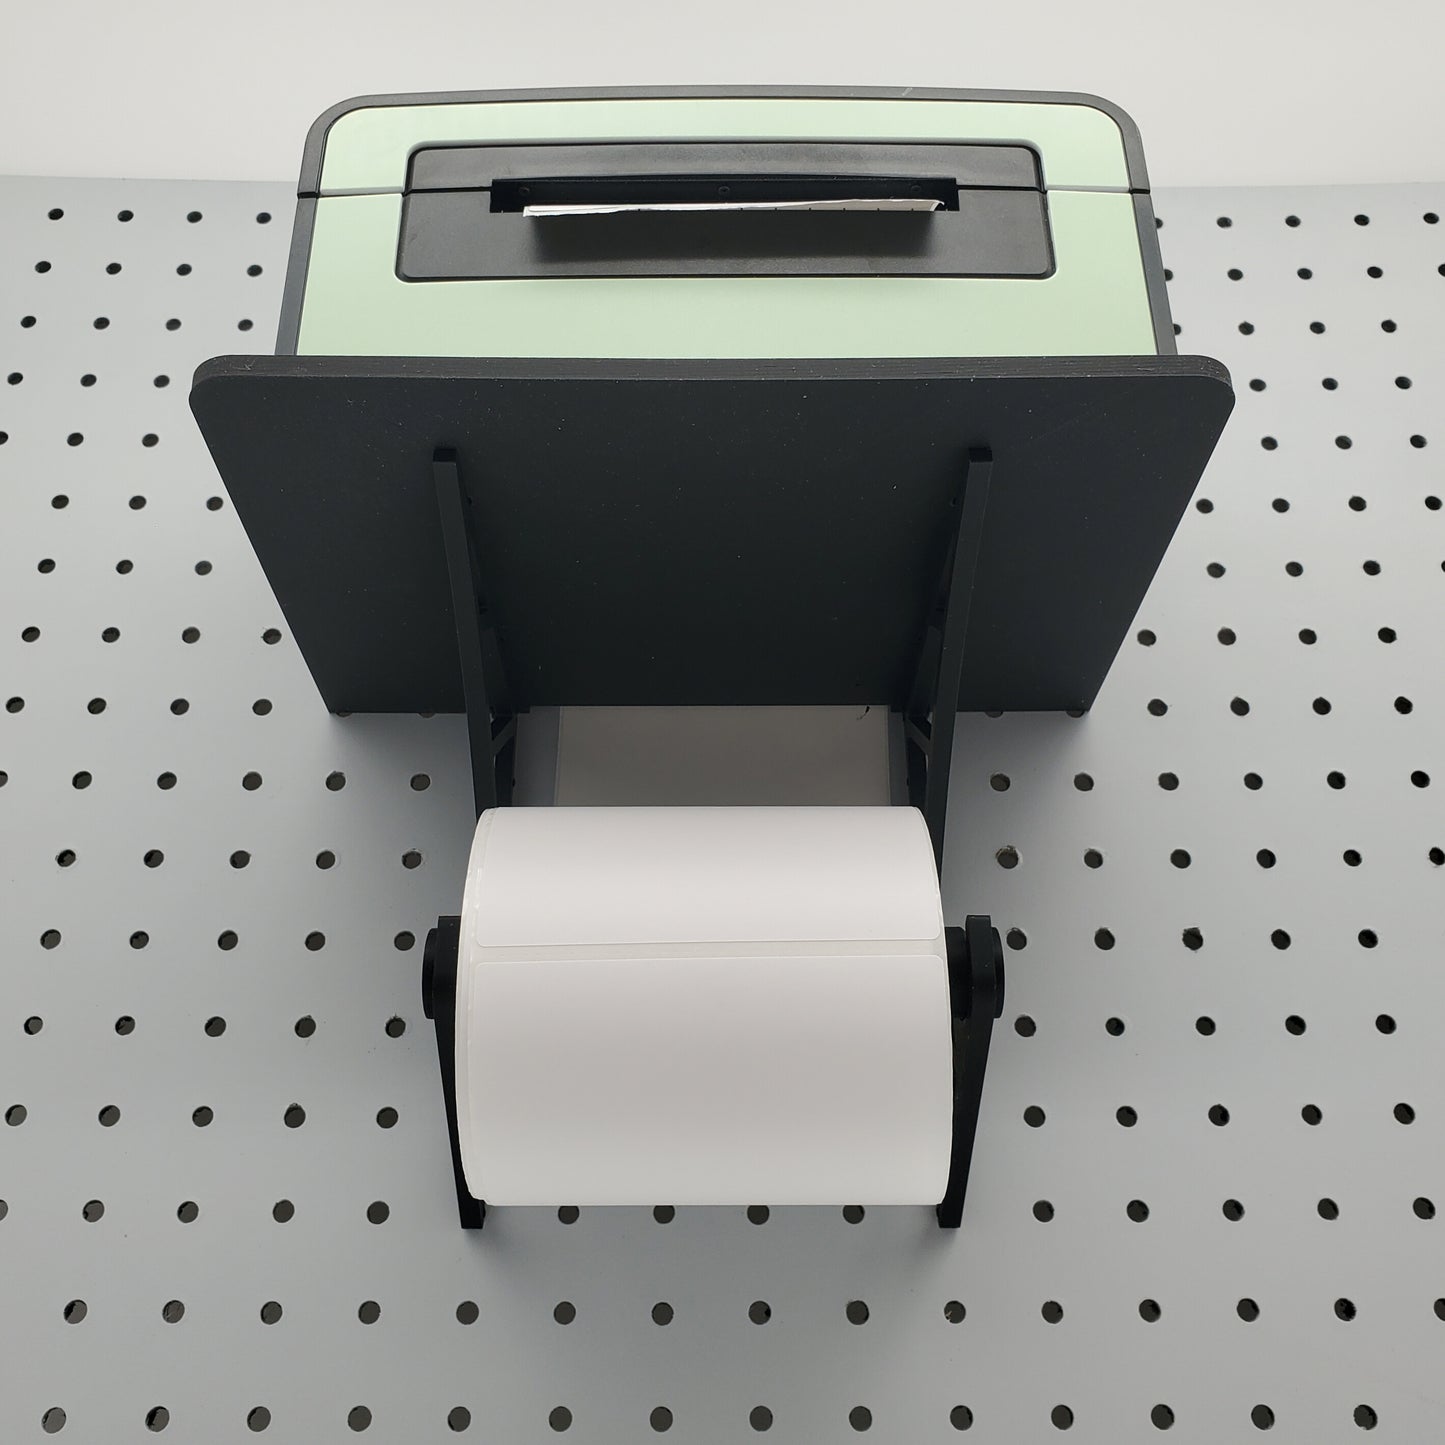
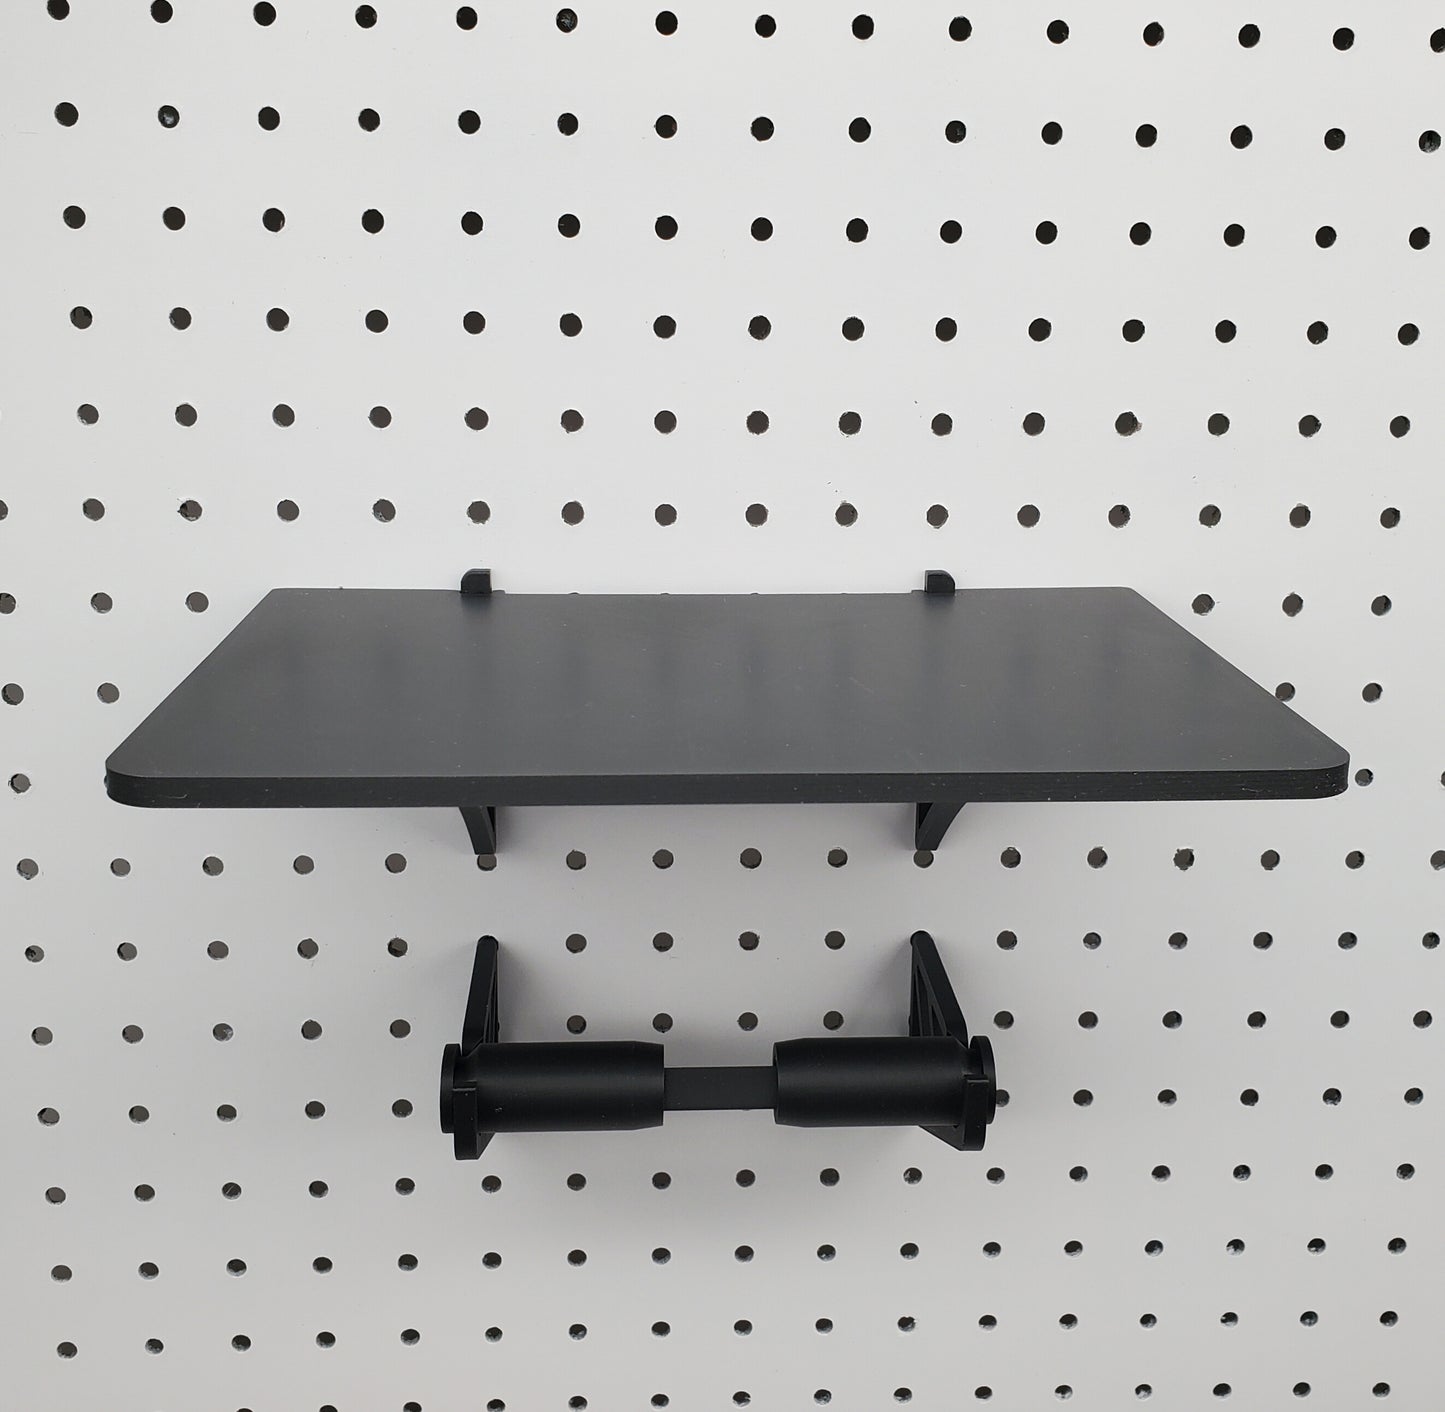
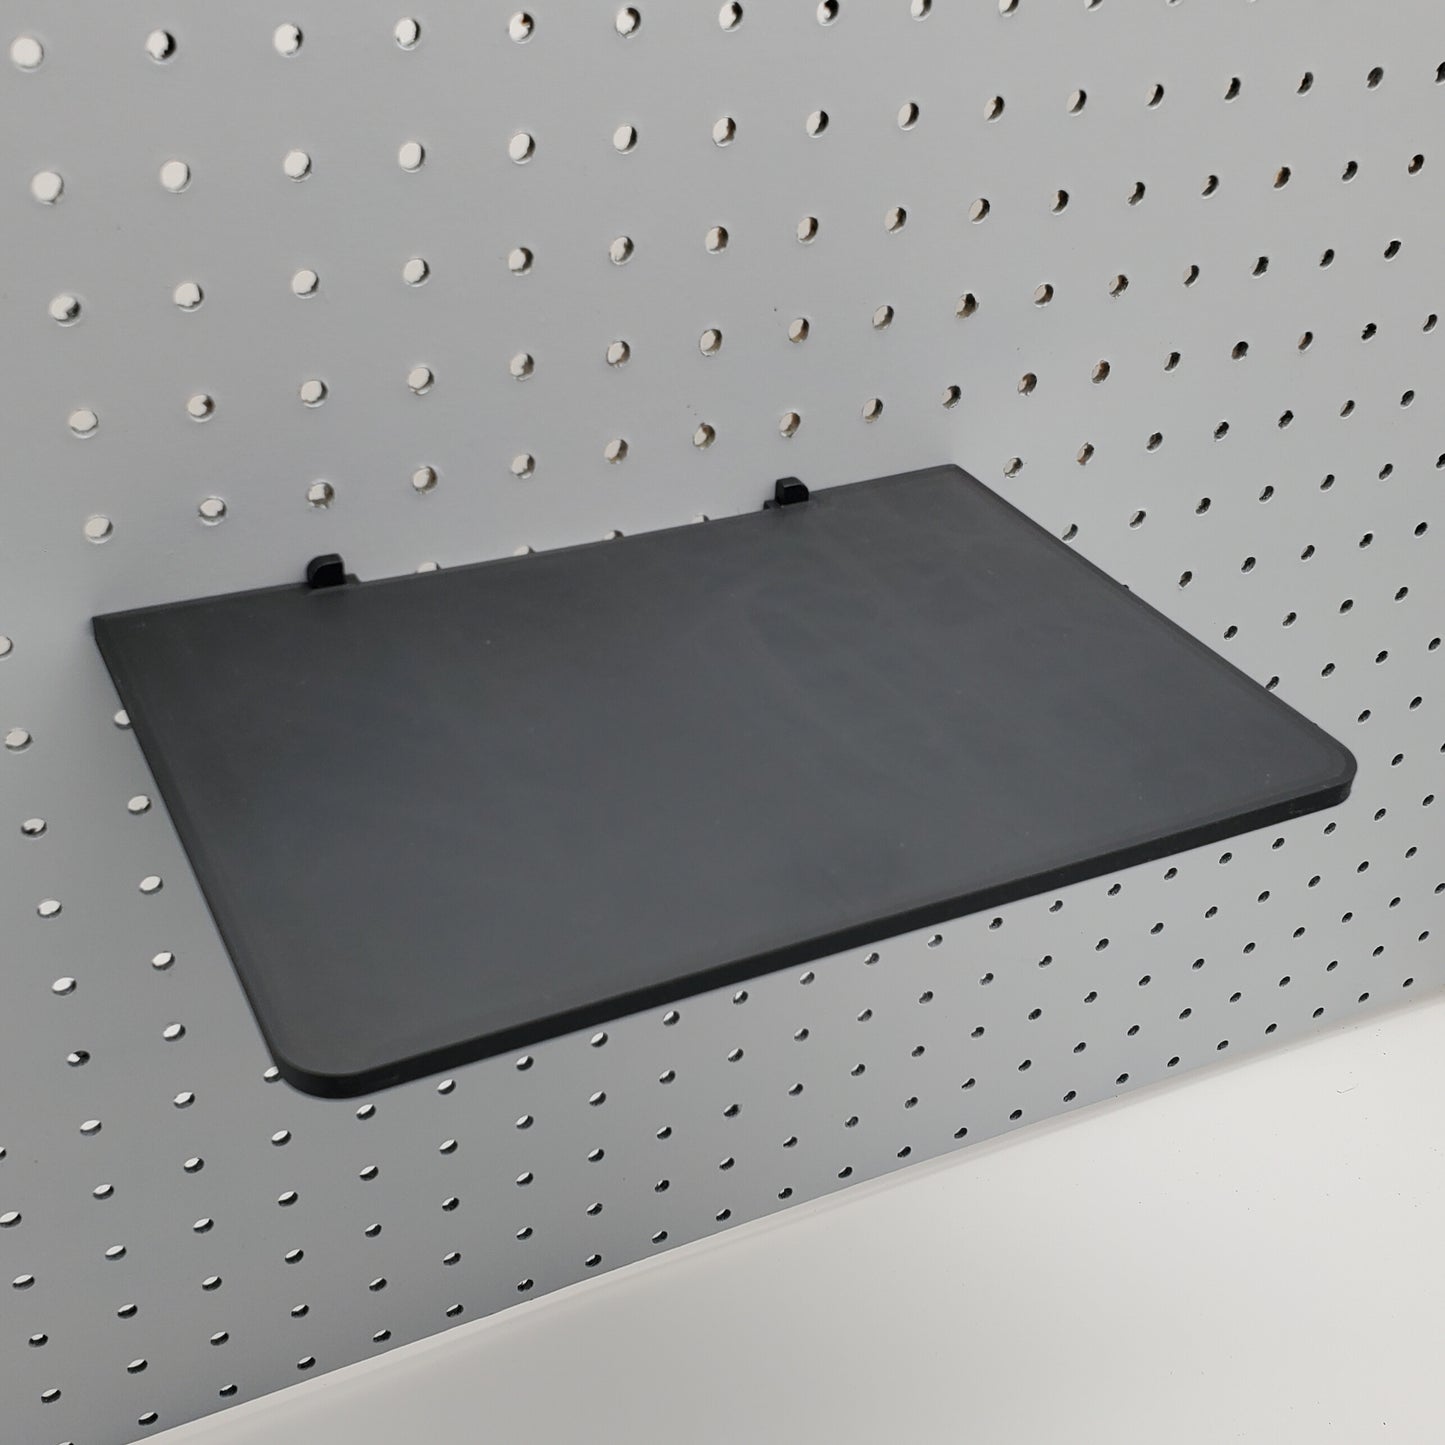
Mount your thermal printer to your 1/4" Pegboard and regain your desktop! Keeping yourself organized while de-cluttering your space is important, and this shelf helps with that! The thermal printer can be fed from either a fan fold or roll holder accessory option. This keeps your shipping desk clear to keep packaging!
Dimensions:
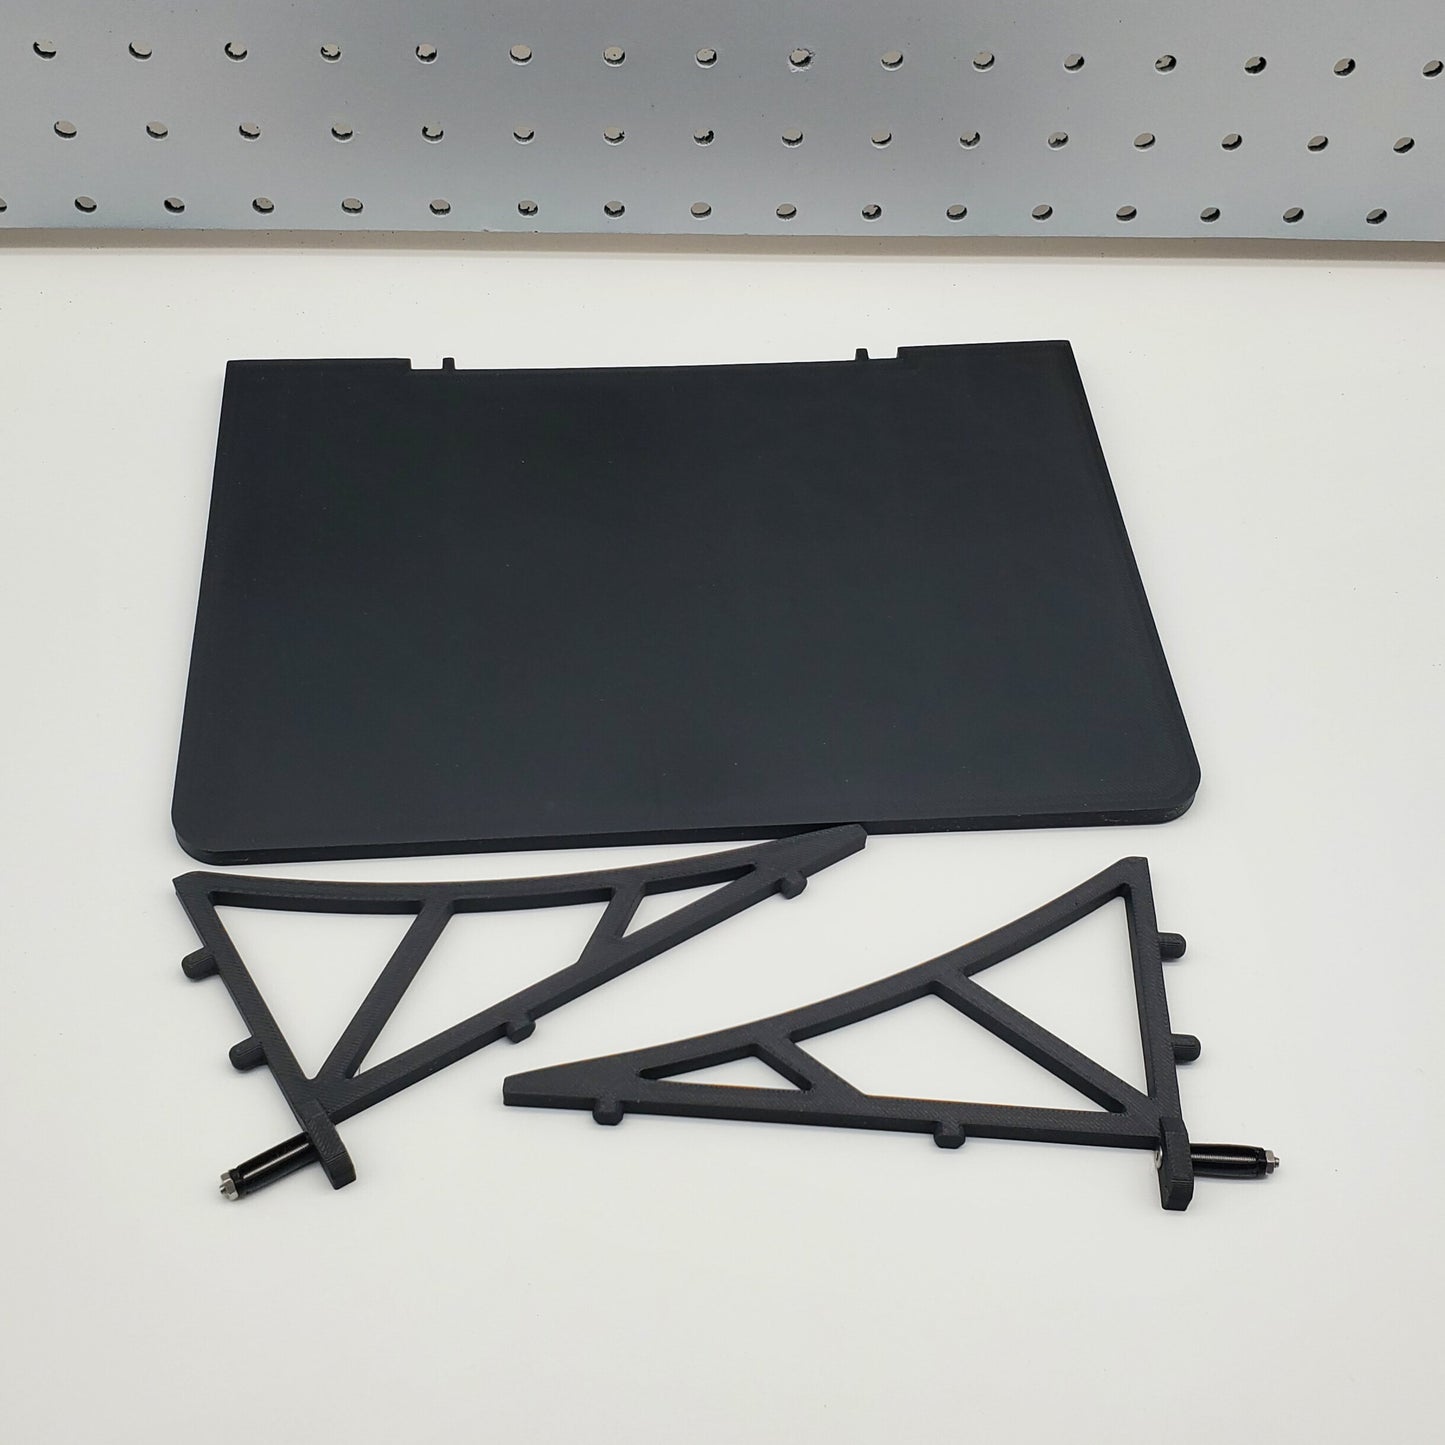
Label Shelf: 240mm Wide x 165mm Deep
-Fits most printers, check your dimensions! (take into account potential wire paths)
-Printer has notch in rear to allow for thermal labels to route behind.
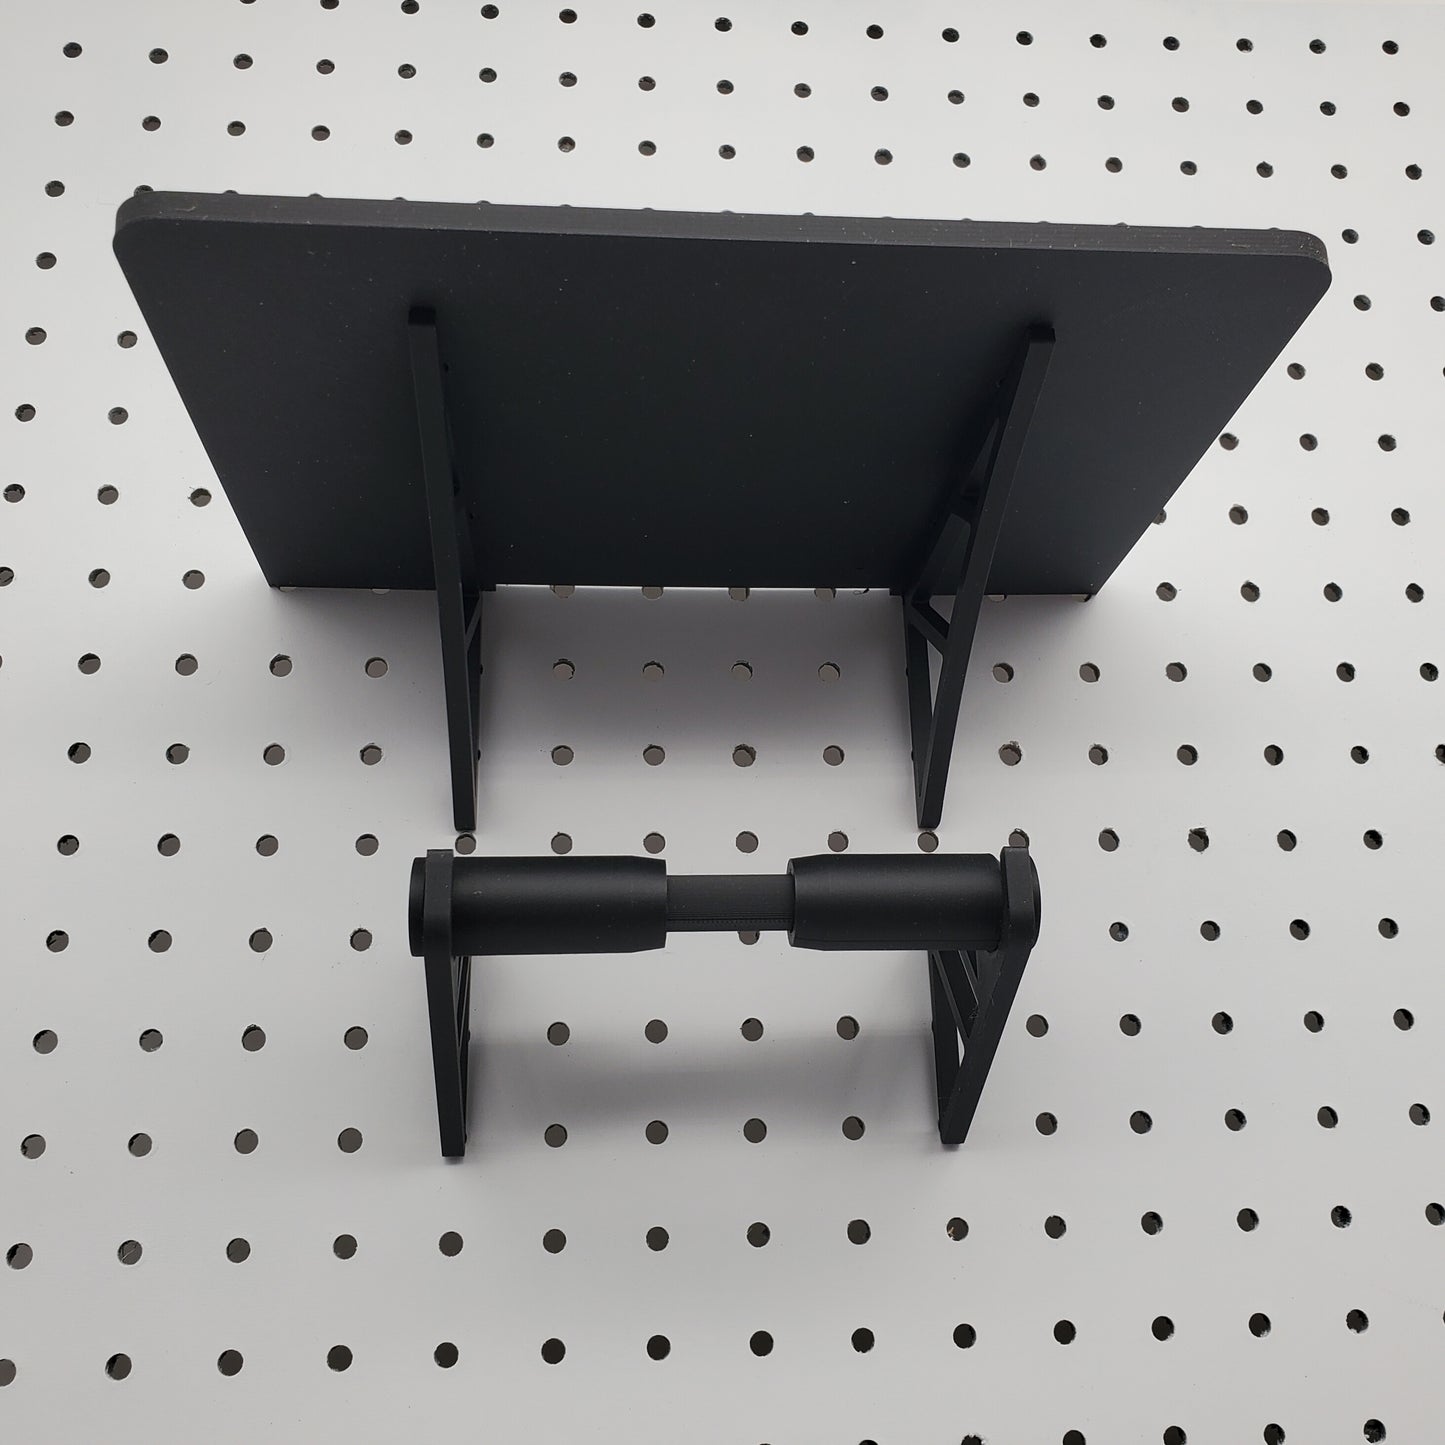
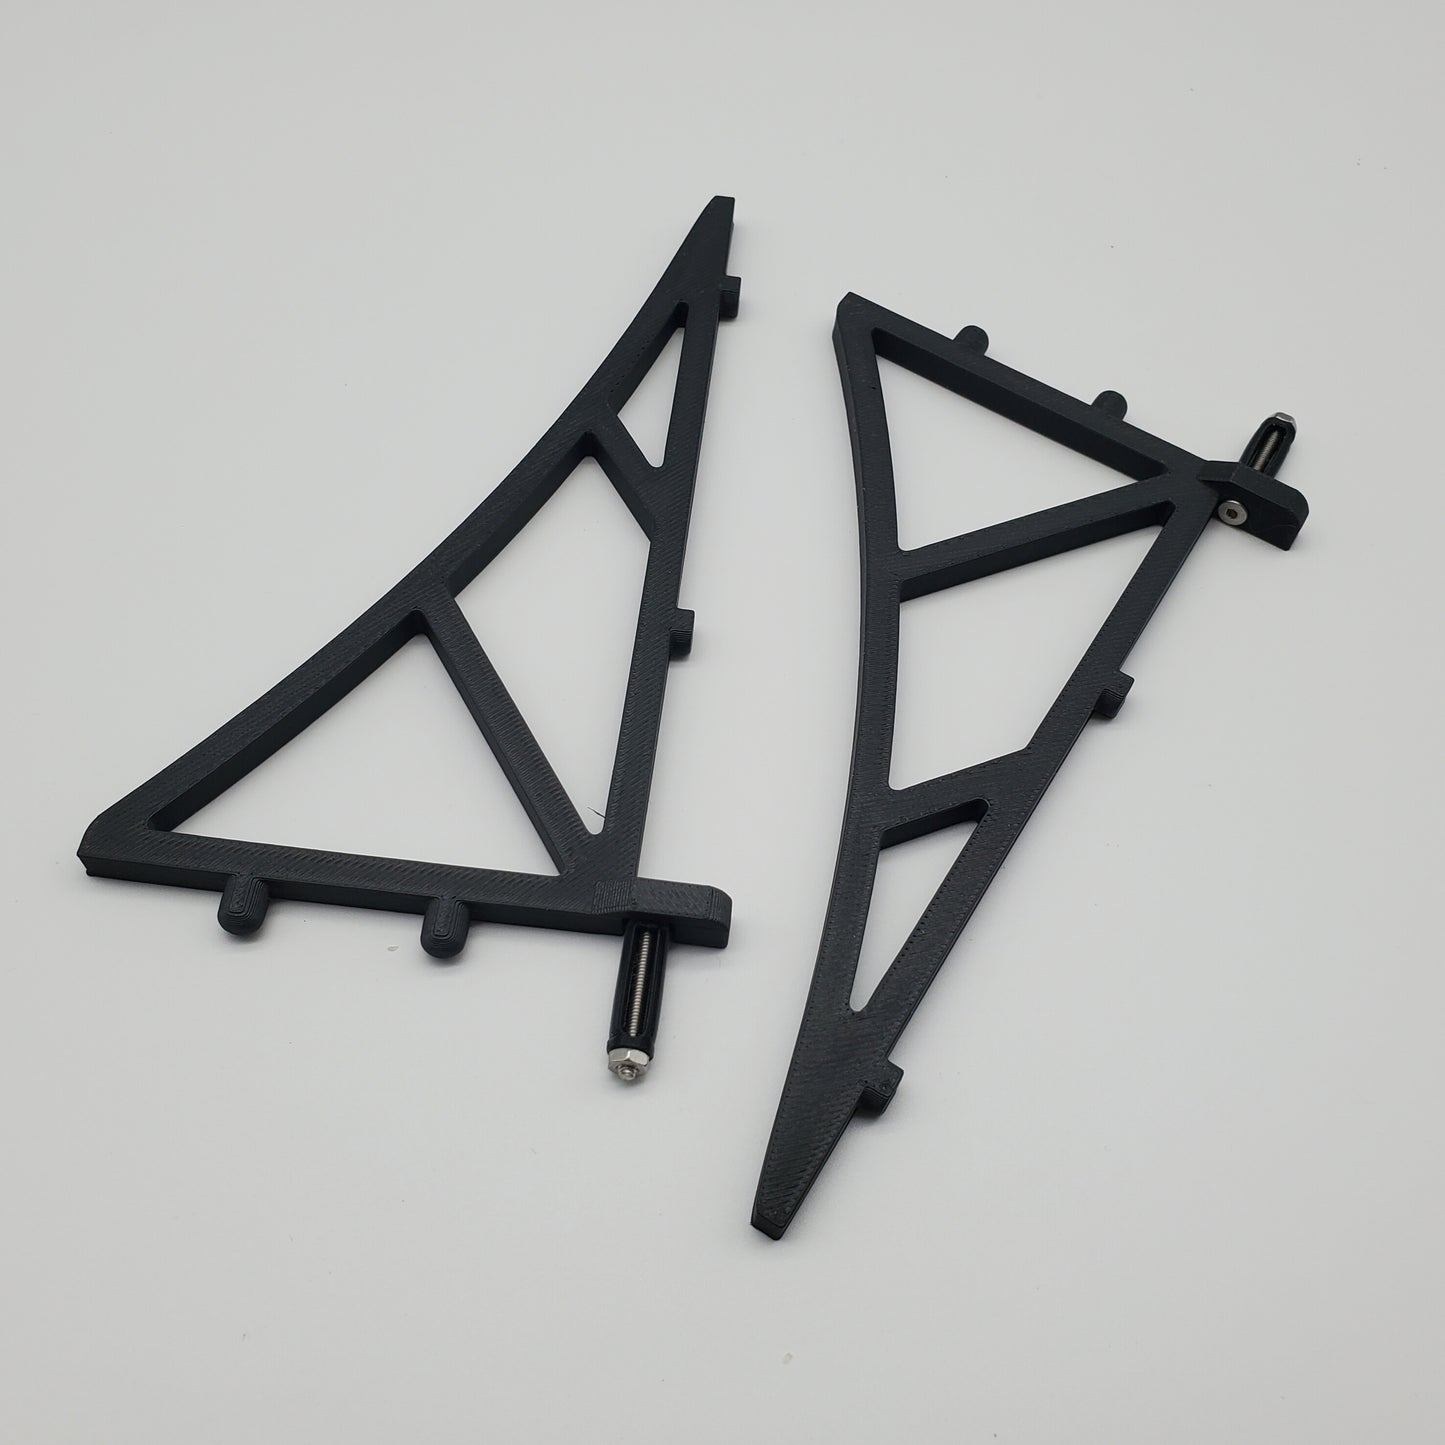
-Ships with one printer shelf platform and 2 support arches.
Fan Fold Shelf: 120mm Wide x 153mm Deep
-Fits 4x6in labels in a fan fold.
-Ships with one shelf platform with sides, and 2 support arches.
Label Roll Holder:
-Fits a roll with a maximum diameter of 5.25in
-Roll holder needs a spool with a minimum diameter of 0.86in (22mm) for roller shaft
-Ships with two support arches and one roller shaft.
Install Instructions:
Once you receive your order, you will notice that the two shelf brackets have a bolt through a flexible black tube at the top.
*NOTE* brackets are mirror image, they are not interchangeable! Flat side faces inward.
Ensure that the nut on the back of the flexible tube is hand snug against the tube. Insert the shelf into your pegboard. Using the supplied tool (1.5mm Hex Allen key, though a 1.5mm screwdriver makes it a bit easier), tighten the bolt. The nut will stay snug against the tube, there should be no need to reach behind the pegboard.
Continue tightening until the bracket is sturdy in the vertical direction. As the bolt tightens, the nut will compress the flexible tube and it will act as a drywall anchor. If you push down on the bracket, and it moves away from the pegboard, tighten some more.
Install second bracket in a similar manner and place shelf on top.
Shelf Removal:
To remove shelves, Loosen the front bolt while gently pulling shelf away from the pegboard wall. The flexible backing will have taken the shape permanently, so by pulling on the bracket, you are ensuring a secure connection to keep the nut unscrewing.
Once bracket is removed from wall. You can reinsert in a different location with the existing flexible backing (by gently smushing it in), or with the new ones provided.
All printers, labels, pegboards and plants are for display purposes only and not included.
Share